When I started this blog three months ago, I figured I would make a few dozen cookies, a couple of weird dips and spreads, and maybe a pot roast or two for good measure. I'd learn a few basic kitchen skills, write a few puns, and see what happened. In the back of my mind, though, I knew I could reach higher. I could play it safe or I could go for gold--I could make a pie from scratch.
Though I've never made a pie in my life, somewhere deep down I knew this was my destiny. The olives, the bananas, the cottage cheeses--all had prepared me for this moment. As had the half dozen trips to local antique shops in search of vintage cookbooks these past few months.
On one such excursion to the Grand Antique Mall, I wandered into the booth of a kind local vendor who showed genuine interest in my new vintage cooking blog. Before I knew it, my new friend Susan had given me this book of 250 Superb Pies and Pastries:
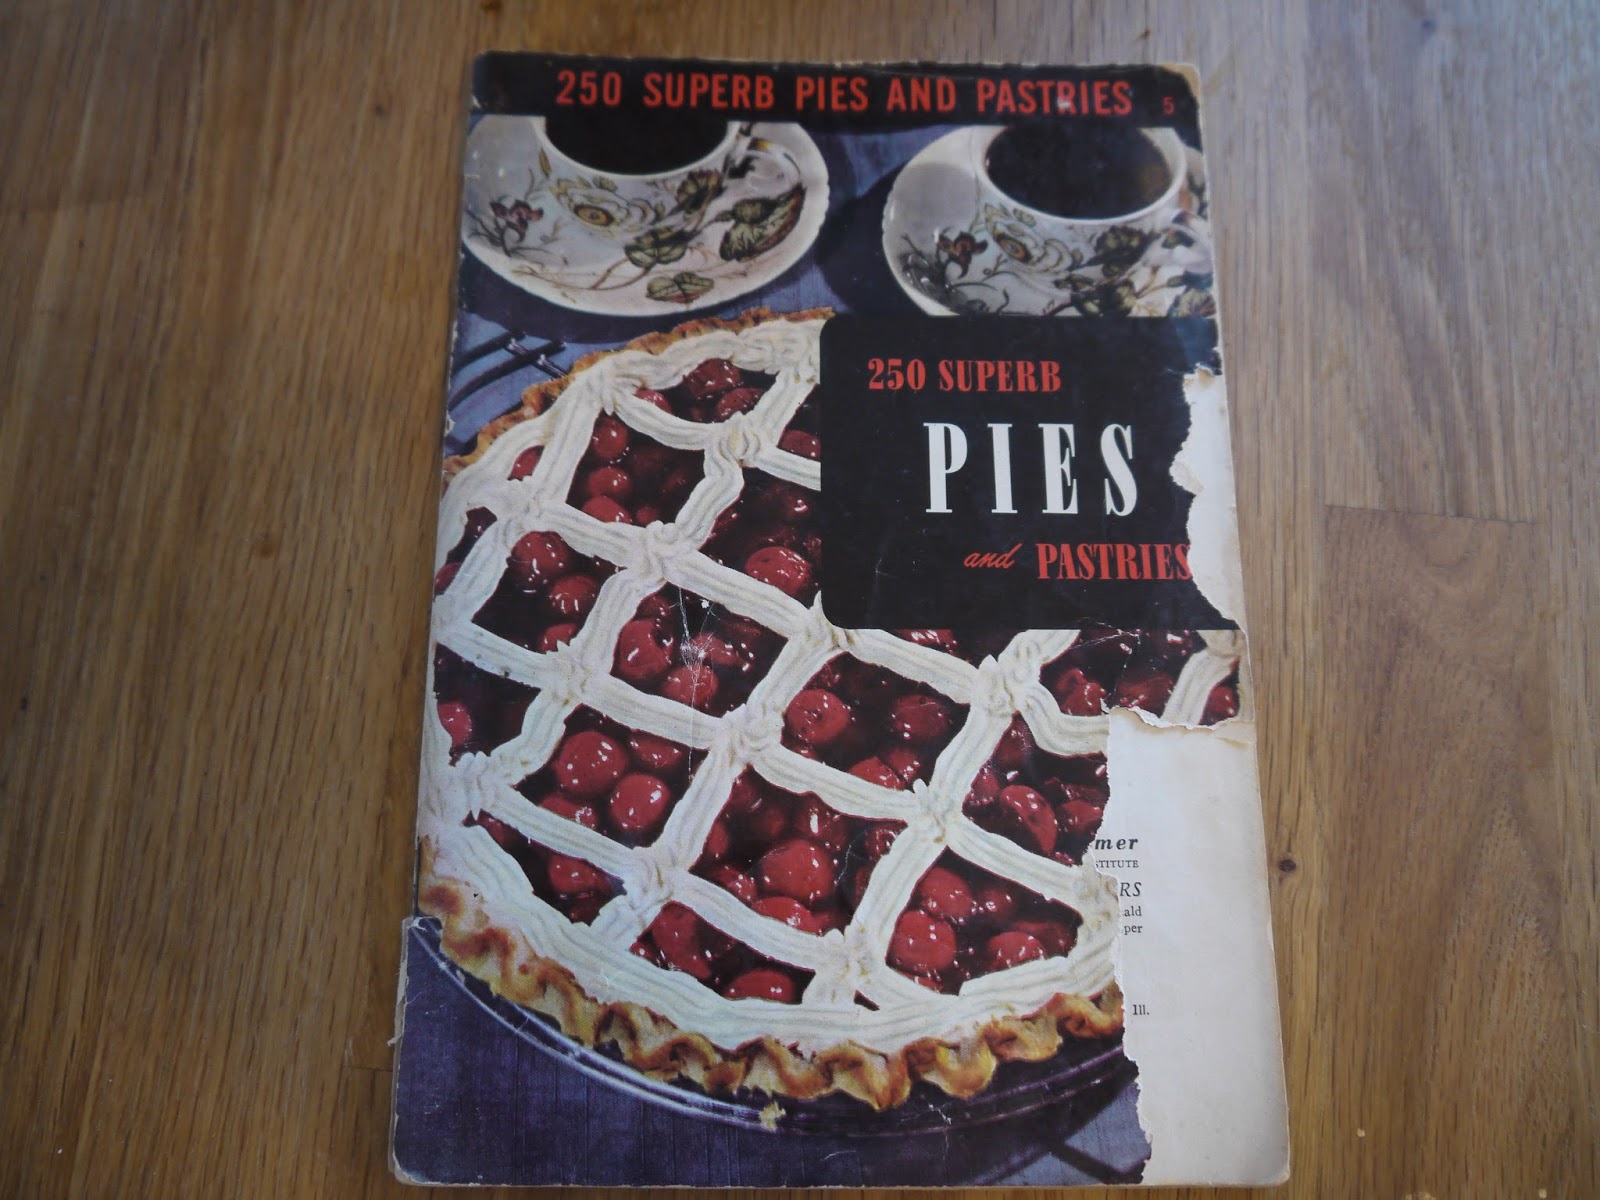
And for the past week or so, this little cookbook has become my beloved pie bible. Before measuring even one cup of flour, I carefully reviewed this introduction to pastry-making.

Here are the highlights:
- Good pastry is flaky, tender, delicate, and evenly browned. To achieve this result the cook must be quick and "light-handed," since pastry cannot be good if handled roughly or slowly.
- Everything must be cold. Chilled ingredients are important for success and for the beginner even the flour may be chilled. A cold, solid fat and ice water are essentials.
- How much water. No definite amount can be specified since this varies with the dryness of the flour and the amount of shortening used...Avoid stirring or mixing that would crush the fat particles and blend them with the flour...Too much moisture makes the crust hard and brittle. Too little makes a crust which cracks at the edges while being rolled.
- Be swift and deft. Roll quickly but lightly since heavy pressure makes the pastry stick and breaks the surface. Start each stroke at center of dough and roll to edge, keeping pastry in as circular a shape as possible and keeping edges as thick as the center.
- If too little or too much water has been used, nothing can be done about it, except to profit by experience next time.
- Piecrust mixtures, containing all ingredients, except the water, can now be purchased. They are especially valuable for the inexperienced cook and small family.

Plain Pastry
2 cups sifted flour
3/4 teaspoon salt
2/3 cup shortening
4 to 6 tablespoons cold water
1) Sift flour and salt together and cut in shortening with 2 knives or pastry blender.


I started by cutting my shortening into smaller bricks, which I gradually dropped into my [very cold] flour and salt mixture. I don't have a pastry blender, so I crossed two knives through the mixture to break up the shortening. According to the cookbook: "It has been mixed sufficiently when the largest pieces of fat are the size of small peas. These particles roll out and melt into crisp flakes."
2) Add water using only a small portion at a time, until mixture will hold together.

3) Divide dough into 2 parts. Roll out on floured board to desired size.


4) Line the piepan with one piece of dough, being careful not to stretch dough.

This was the most delicate, fear-inducing part of the whole process. I used a spatula to gently loosen the dough, and then recruited Taylor to help transfer it to the pie tin.

Victory! Between our four hands, we successfully landed the dough in the tin without stretching it, tearing it, or dropping it. If I remember correctly, I was half-crying, half-laughing at this point, and seriously considering making a career change to cardiac surgery. Or at least entering a pie contest at next year's county fair.
But we're only half way through the process with much more work to do. So much can still go wrong! Come back soon to judge for yourself whether this pie turned out to be worthy of the blue ribbon.
To be continued...
I love that last picture. You can see the fear in your eyes.
ReplyDeleteHahaha, yes, pure terror.
DeleteBravo! You rolled out the dough wide enough to drape the rim of your pie pan; an advanced pie dough skill!
ReplyDeleteThank you, Susan! I look forward to practicing even more!
Delete