Monday, September 28, 2015

Joan's Apple Cake

Saturday was a special day: Taylor's parents' pre-30th anniversary celebration AND Johnny Appleseed's birthday in the same day! To mark the occasion, I thought I'd make an apple cake using a recipe from the Ohio Apple Marketing Program.


When I texted my mother-in-law Stacy with the idea, she asked me a life-changing question: "Do you have Joan's apple cake recipe?"

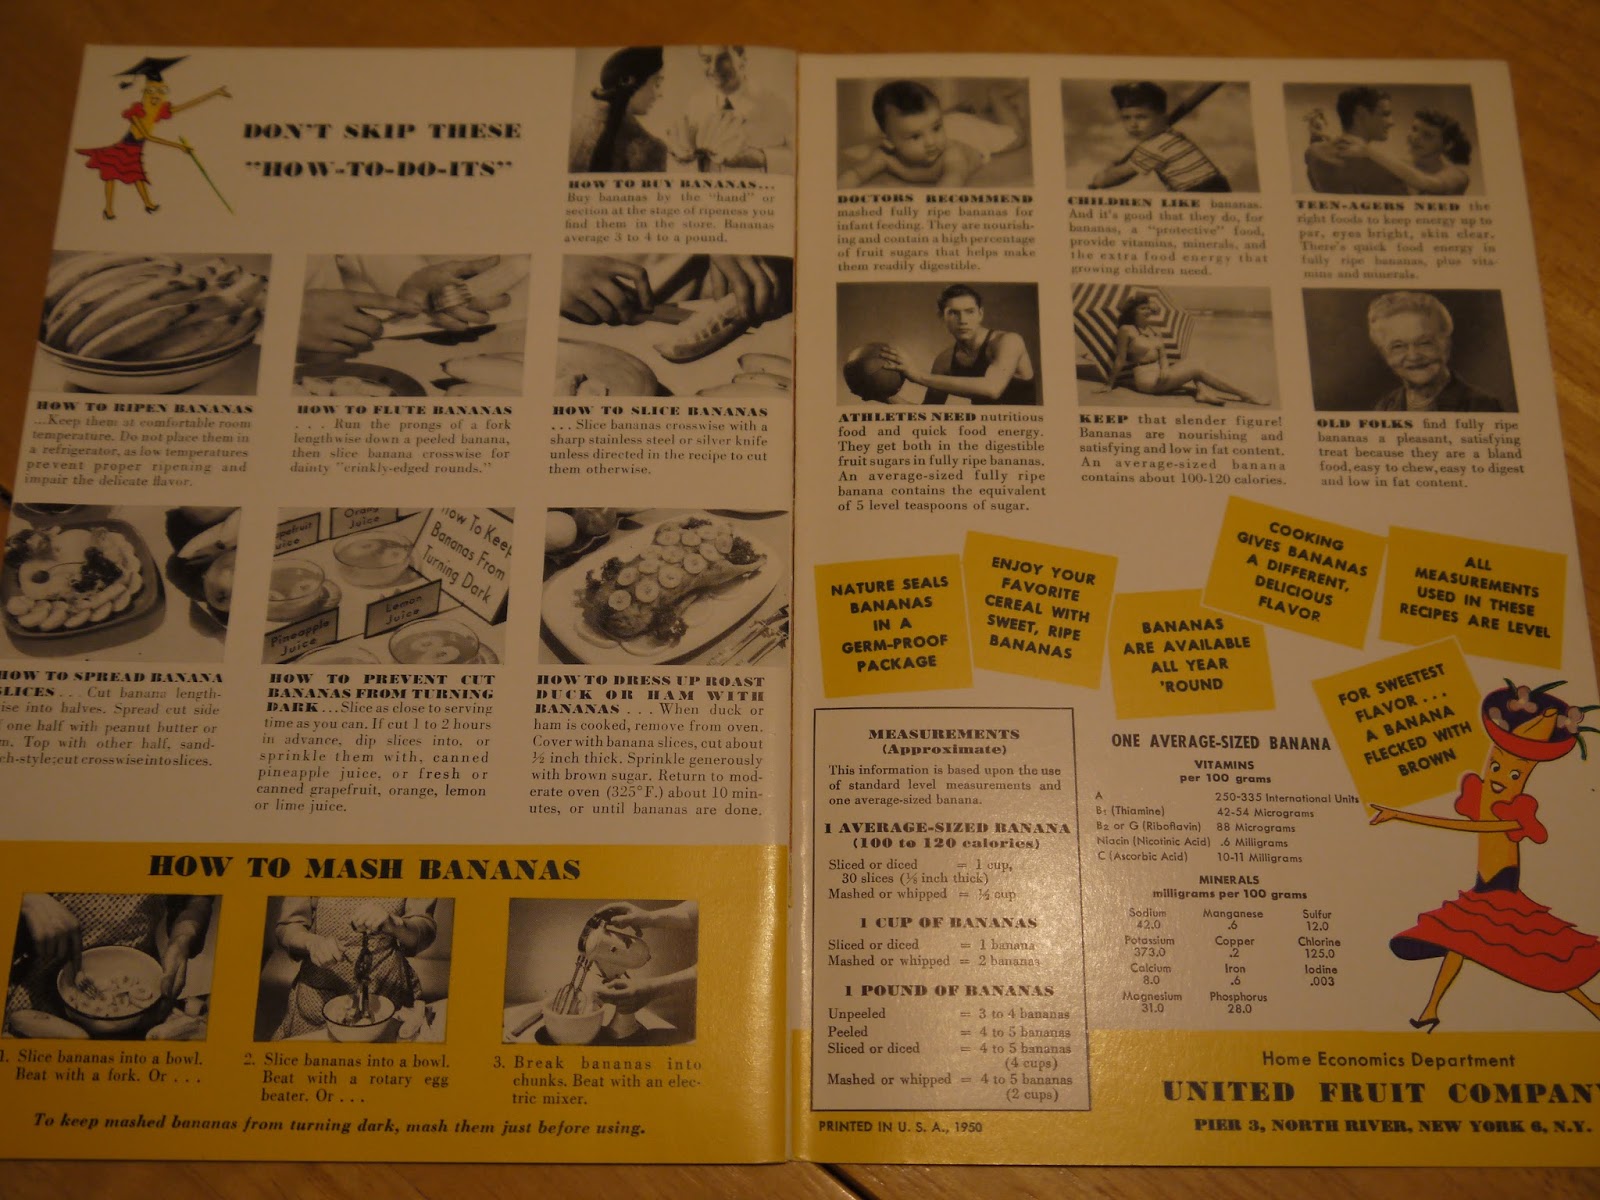
Taylor's mamaw Joan lives in Memphis and is one of the kindest, sweetest ladies you'll ever meet. Oh, and her apple cake is legendary. Stacy emailed me the recipe, and I swapped out my generic brochure recipe for a family tradition dating back at least three generations. Lucky for you, nothing about this recipe is secret or proprietary (or so I've been told), so I can share it with you!

Joan's Apple Cake

3 cups diced apples
1 cup Wesson oil
2 cups sugar
2 eggs
1/4-1/2 cup milk
3 cups flour
1 teaspoon baking soda
1 teaspoon cinnamon
1/2 teaspoon nutmeg
1/2 teaspoon salt
1 cup chopped nuts (optional)

1) Pare and dice 3 cups of apples. How many apples are in a cup? I wasn't sure, so I just started peeling. And peeling. And peeling. I peeled about seven apples. Turns out that was the perfect amount.

  
Then I recruited my food processor to help speed things up a bit.


2) Mix the oil, sugar, eggs, and milk in a large bowl. 


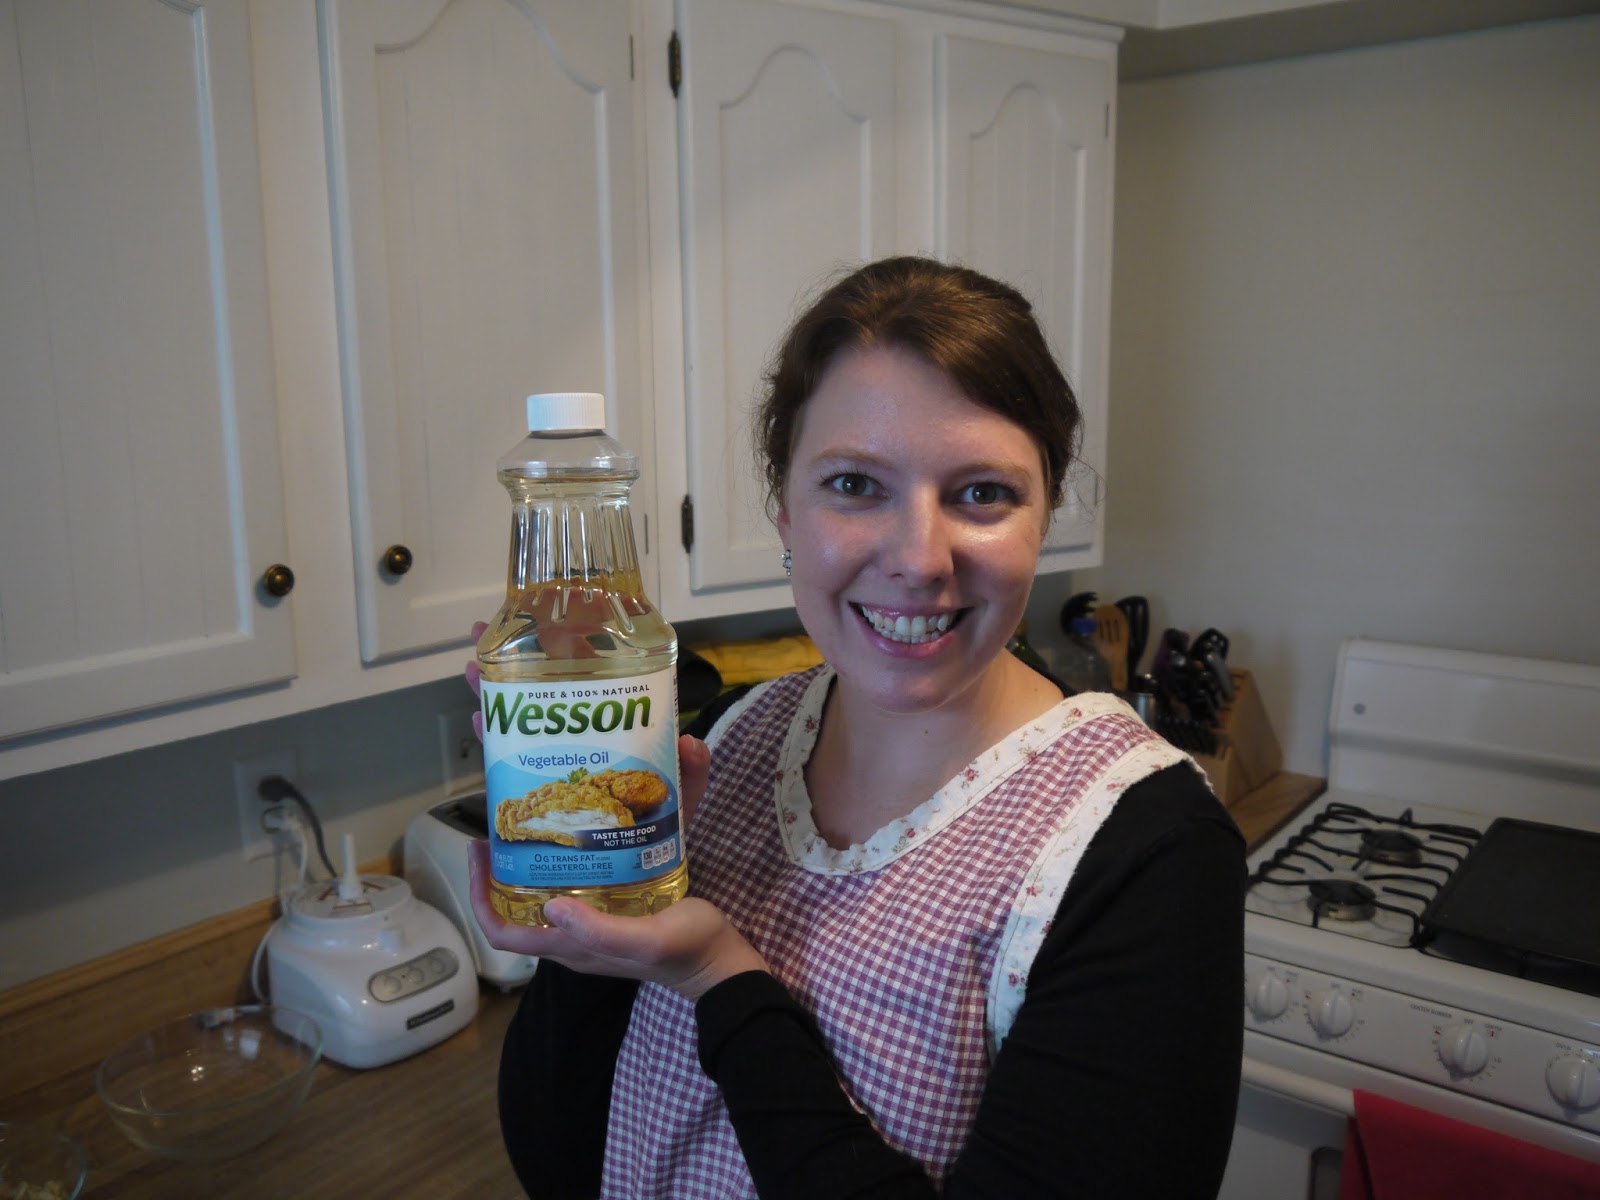
Did you notice that this recipe specifically calls for Wesson vegetable oil? And that I'm actually using Wesson vegetable oil? I knew it wouldn't really make a difference in taste or quality to use a different brand of vegetable oil, but I didn't want to take any chances with Mamaw's special recipe. I've never made this cake before, and the bar has been set pretty high. So when you have the chance to stack a few cards in your favor, you take it. Thank you, Wesson!


3) Next, sift together flour, baking soda, spices, and salt.


4) Combine wet and dry ingredients, then add apples and nuts (optional). Mix well.
Corgi supervision also optional.


While we're stirring, did you notice my apron? It was handmade by my aunt Elaine and given to me at my wedding shower 5.5 years ago. It's a cool design--it's all one piece with no straps, so you put it on by looping the arm holes together, slipping them over your head, and then poking your arms through the sides. Because one can never have enough aprons, my friend Katelyn recently helped me make another apron that's reversible with more of an A-line style. Once I finish the last few (hundred) hand stitches, it will be ready to make its blog debut!

Okay back to the apple cake--almost finished!

5) Bake in a greased pan at 350 degrees for 40 minutes to one hour. 


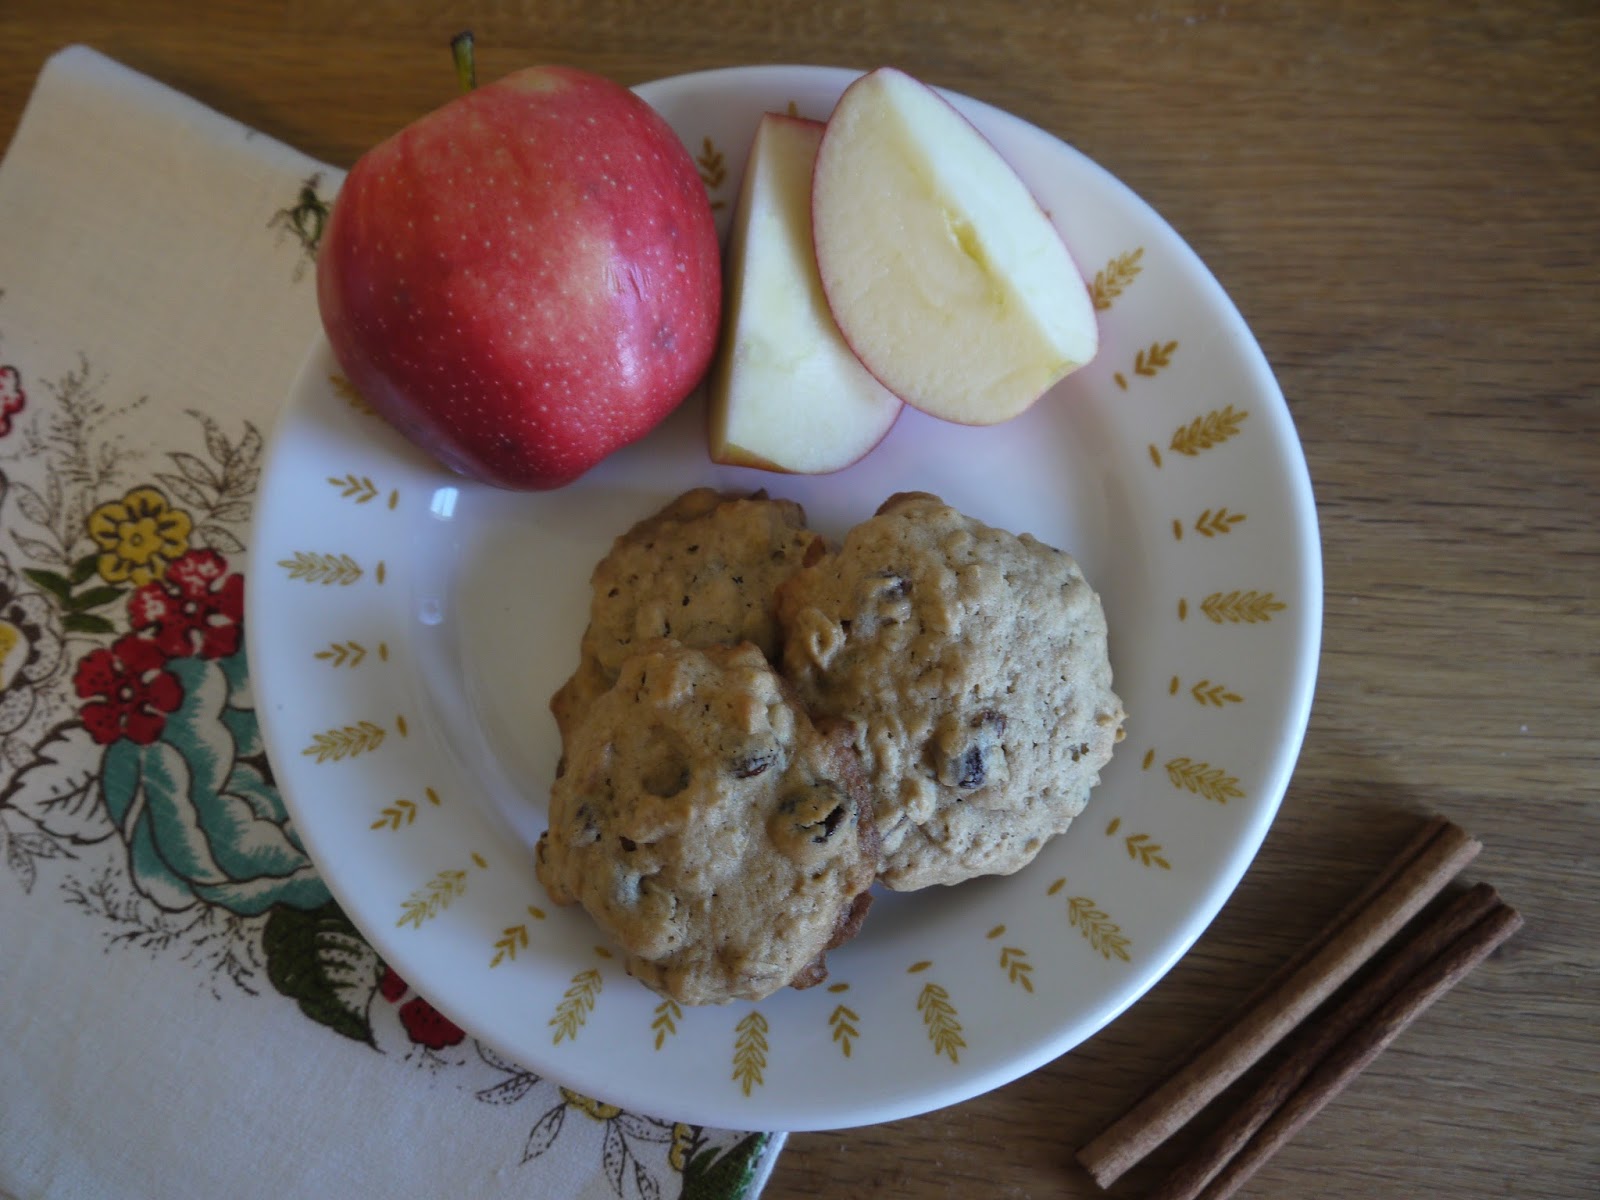
I set the timer for 45 minutes and tested the center with a toothpick. It needed another five minutes or so, but was ready just in time to pack the car and head over to Mitch and Stacy's for dinner. A few hours later, after dinner and conversation and endless Corgi-watching entertainment, it was time for dessert. It was a delicious moment of truth! Even with all of the sugar and oil in this recipe, the cake isn't overly sweet. It's got just the right balance of flavors, and is moist and warm and quite comforting on a cool fall evening. In the Wessels family, the cake is customarily served with a dollop of cool whip, a scoop of vanilla ice cream (that's how we had it), or just plain on its own.

Taylor wanted to try out a cinnamon-sugar frosting on top, so we ventured into new territory with that interpretation, too. The glaze was a nice touch, but the cake is good enough without it! I had it plain for breakfast today.


Joan's apple cake is a timeless classic, made even sweeter by the love and joy with which it is served. Handed down from generation to generation, recipes are symbols of the transcendent power of family. Dishes, aprons, and lessons shared in the kitchen give us a sense of identity and belonging; they help us find our way home, wherever that may be. Cooking traditions keep us together, and I am so honored to be a new keeper of this special recipe.

Tuesday, September 22, 2015

Apple-Pork Steaks

Let's think of all the things we like to eat with apples. Oatmeal? (Check out my last post!) Sausage and eggs? (You betcha!) Pork steak? (Uhh...maybe?)


With the help of the Homemaker's Meat Recipe Book (1948-49), we can find out! You grab the apples, and I'll get the pork steaks.

Okay, what's a pork steak? I didn't know the difference between a pork steak and a pork chop, so I consulted the leading experts--the National Pork Board's website and Taylor's brain--to learn more. Here's what I learned:

"Blade steaks (also called pork steaks) are cut from the pork shoulder and contain the blade bone. Blade steaks are flavorful like roasts because they are rich in marbling, which keeps them tender during cooking. Blade steak is a popular, quick-cooking cut for grilling.

"Pork chops are the most popular cut from the pork loin, which is the strip of meat that runs from the pig’s hip to shoulder. Depending on where they originate, pork chops can be found under a variety of names, including loin, rib, sirloin, top loin and blade chops."

Taylor corroborated this account. He added that pork arm or blade steaks would have been more commonly available to WWII and post-war consumers, as higher-quality cuts of meat, like pork chops, would have been rationed to the troops.

Got it, let's make some meat!


Apple-Pork Steaks
4 pork arm or blade steaks
2 tablespoons lard or drippings
2 stalks celery
2 tart apples, unpeeled
1 tablespoon vinegar
1 teaspoon sugar
1 1/2 teaspoons salt
1/2 cup water
2 tablespoons enriched flour
2 tablespoons water

1) Brown pork steaks in lard or drippings.
After all that explanation, I decided to just buy pork chops because they didn't seem all that different and that's what I could quickly find in the meat section of the grocery store in 2015. Maybe next time I'll visit a butcher in 1948.

I also didn't have lard or drippings on hand, so I just used a little olive oil to brown my pork chops over medium-high heat. It worked just fine.

This is a big deal for me--adapting the recipe, making it work. Pre-blog, I would have given up on this recipe after reading the unfamiliar title. And yet, here we are, chipping away at the meat ceiling, one recipe at a time.


2) Cut celery in 2-inch lengths and apples in eighths.
While the pork chops browned in the pan, I cut my celery and granny smith apples. This step is best summarized by the words 'crunchy' and 'green.'


3) Place over pork steaks and add vinegar, sugar, salt, and 1/2 cup water. Cover and cook slowly for 45 minutes.
This is what it means to braise something--first you lightly fry it, then you let it stew slowly in a closed pan. I learned that! Braise the roof!


4) When done, remove steaks and thicken gravy with flour mixed with 2 tablespoons water. Stir constantly, allowing to boil vigorously for 3 minutes.
About 45 minutes later, the apples and celery had reduced to a chunky applesauce-like mixture. I took out the pork chops and mixed the flour and water into the "gravy."

5) Serve over pork steaks. 4 servings. 
I hesitate to show the finished plate because it looks kind of bland and gross in the picture. Don't let looks deceive you! (Sidenote: I didn't realize in starting this blog I'd need to learn the art of cooking and photography.)


I'm not much of a carnivore, but overall I liked this dish. I made couscous as a side, and the whole thing was ready in under an hour. The pork chops were moist and tender, and the gravy was hot and flavorful, though a tad on the tart side. Next time I'd try it with a slightly sweeter apple, I think. Go easy with the ladle to keep the gravy from overpowering the pork.

And don't forget to add pork steak to your list of apple-friendly foods!

Saturday, September 19, 2015

Applesauce Oatmeal Cookies

With the official start of fall less than a week away, let's continue our homage to the apple with a recipe for Applesauce Oatmeal Cookies!


Actually I can never seem to remember this cookie's name when I describe it to people, because there's just so much goodness going on in one little cookie. It's an apple-spice-oatmeal-raisin-dewdrop-from-God. Or something like that. No matter what it's called, this recipe has received rave reviews in my house and in my classroom, and I'm eager to share it with you, too!

Applesauce Oatmeal Cookies 
2 cups sifted all-purpose flour
1/2 tsp. baking soda
1/2 tsp. salt
1/2 tsp. cinnamon
1/4 tsp. nutmeg
1/2 cup raisins
1 1/2 cups uncooked rolled oats
1 cup firmly packed brown sugar
3/4 cup soft shortening
1 egg
1 cup sweetened applesauce


1) Mix and sift flour, baking soda, salt, and spices.


If spices had 8th grade yearbooks, here's what my inscription to Cinnamon would say: "C--you make the world a better place. Stay cool and never change. LYLAS 4 Ever."

What, it's true, and you know it.

2) Add remaining ingredients. Beat until smooth, about 2 minutes.

3) Drop by tablespoon on greased cookie sheet.
(One might call this a heaping tablespoon. Note: one can never heap too much when it comes to these apple raisin pancake patties. Wait, what are they called?)


 4) Bake at 350 degrees for 12-15 minutes. Makes 3 dozen.


I can't even begin to tell you what a warm and delicious addition these cookies will be to your life! They are light and fluffy, and super easy to make, especially with a stand mixer doing all the work. The perfect ratio of apple to oatmeal to raisin to cinnamon to nutmeg.


What are these things called again? Oh, yeah, I remember now: Perfection.

Wednesday, September 16, 2015

Making It Modern with The Glamorous Housewife

Happy Wednesday! I'm busy whipping up a few new concoctions in the kitchen today, so while I work, I thought I'd share another fun vintage blog to tide you over.

Introducing: The Glamorous Housewife! This blogger shares a love of all things vintage, and has lots of posts about decorating, style, entertaining, and more. Most recently, I discovered her new series on YouTube called "Making it Modern" in which she adapts old recipes into modern creations. So far she has featured a pineapple upside down cake-inspired cocktail, an emerald jello salad masquerading as a modern strawberry salad, and her updated take on sausage boatees. It's a lot of fun, and I'm excited to see future installments in the series!


So take a visit to her blog today--and come back here for more vintage apple-themed recipes just in time for the first few days of fall!

Friday, September 11, 2015

Cheese-Apple-Sausage Pie

If you've been a loyal reader around here, you've probably noticed that I tend to gravitate toward easy recipes for bread-based dishes like sandwiches and desserts. Well, all that's about to change with this Cheese-Apple-Sausage Pie!


With fall just around the corner, I thought it was time to dip into some apple recipes. And to try cooking meat. (No, that peanut butter and bacon recipe doesn't really count.) Today's recipe allows me to meet both of those goals!


The recipe comes from an Ohio Apple Marketing Program cookbook I picked up a few weeks ago. It doesn't have a date on it, but judging by what I've read (and the hairstyles) I'd say it's vintage 70s or 80s. This is a little outside my post-WWII range, but Johnny Appleseed's birthday is a few weeks away, and we could all use more apple recipes in our lives right about now.


As you can see in the photo below, this particular brochure was distributed by A&M Farm in Midland, Ohio, an orchard still in business only about an hour northeast of Cincinnati. Their Facebook page shows that apple-picking season begins in a couple of weeks! Grab your baskets, people.


Let's get back to the recipe! Presenting:

Cheese-Apple-Sausage Pie
Serves 6 (dinner)
Serves 10 (appetizer)

1 pkg pie crust mix
2 cups grated Swiss cheese
5 pre-cooked sausages, cut 1/4"
2 medium apples, pared, sliced
1 medium onion, chopped
4 eggs
1 tbsp. flour
1 cup milk
1 cup heavy cream
1 1/2 tbsp melted butter

1) Saute sausages, drain. 

2) Prepare pie crust as package directs. Line a 10" pie or tart pan with pie crust. Flute edges.
(I cheated on this part--I used a pre-made pie crust from the store. Baby steps.)

3) Layer cheese, apples, onion, and sausage in pastry lined pan.


4) Beat eggs, milk, cream, flour, salt, and butter until well-mixed. Pour over layered ingredients.

(Hmm, that's funny. I didn't notice any salt in the recipe. Also, my pie crusts must have been too small because I had more than enough ingredients and mixture for two of these things, which I hadn't planned on, but it worked out just fine. Huzzah for minor improvisation!)


5) Bake in 375 degree oven for 45 minutes, until top is puffy and golden. Let stand 5 minutes before slicing.


Ta-da! It's a pie! Two pies, in fact! Or quiches? Anyway, they turned out pretty well. I realized once they were in the oven that I had forgotten to peel the apples, but the slices were thin enough that it wasn't too disastrous. Next time, I'll remember! I'll also remember that this recipe yields enough for two pies, which is quite convenient because more is better. We've been eating this for breakfast, lunch, second lunch, and dinner. Because who would ever want to eat anything but breakfast food? And apples? It's fall, y'all!

Wednesday, September 9, 2015

Banana Shortcake

Chiquita Banana says: "A fresh fruit shortcake for all year around!"

With shortcakes on hand from earlier this week, let's get a little more mileage out of those biscuits with this recipe from Chiquita Banana's Recipe Book.


Banana Shortcake
(Use fully ripe bananas...yellow peel flecked with brown)


Split homemade or baker's gingerbread, cake, cupcakes, or biscuits into 2 layers. Place whipped cream and sliced ripe bananas between layers and on top. Garnish with a cherry, if desired. Just before serving, peel and slice additional bananas and arrange them around the base of the Banana Shortcake, if desired.

It's amazing that those three simple ingredients could turn into such a light, delicious treat!


While preparing my banana shortcake, I was advised by a smart-looking banana wearing glasses and a mortar board, "Don't skip these 'how-to-do-its'!" So, of course, I'll share them with you. By the way, did you notice Professor Banana is also wearing a dress and heels? Pretty progressive for 1950.


Enjoy this plethora of tips and factoids as you buy, ripen, flute, slice, spread, preserve, and dress up your own bananas.


Just in case you need some help, here's a tutorial on how to mash bananas.


And see here, bananas are for everyone! I'm no teenager, but I could use some of those eye-brightening, skin-clearing benefits. Duly noted, Bananas.


Finally, some notes on nutrition and measurements for your recipes. Did you know that a cup of mashed bananas requires more bananas than a cup of sliced bananas? You did? Well, I didn't. I'm a beginner.


There you have it! Strawberry Shortcake's cousin, Chiquita Banana Shortcake. Not to be confused with this little shortcake, Sheila. She's my favorite.


Even though this is an all-year round type of recipe, banana shortcake feels particularly well-suited for summer. But with temperatures getting a little cooler this week, I think it's time to dig up some recipes that are better-suited for fall. Here's looking at you, apples!

Monday, September 7, 2015

Strawberry Shortcake

As you enjoy the Labor Day weekend, what better way to celebrate the end of summer than with a bunch of fresh strawberries and a little homemade shortcake?


Thankfully my 10-year-old friend Geraldine from Fun with Cooking: Easy Recipes for Beginners has the perfect recipe for us to try! Let's get started.


Strawberry Shortcake
1 cup flour
2 teaspoons baking powder
1/4 teaspoon salt
2 tablespoons sugar
1/2 cup milk
1/4 cup shortening
Strawberries
Powdered sugar

1) Follow the instructions on page 36 for Baking Powder Biscuits but use the new amounts given above. Be sure to sift the sugar with the dry ingredients. 
 
Beep-beep-beep-beep-be-beep-beep-beep-beep...we interrupt this broadcast for a breaking biscuit recipe! I've never made biscuits before, so this will be a venture into uncharted territory!


     Baking Powder Biscuits 
--Sift the flour, baking powder, salt (and sugar) all at once into a bowl.  
--Add the shortening and, using the fork, blend into the flour until you have a crumbly mixture. 
--Make a hollow in the middle of the mixture and into it pour the milk. Stir only until the milk is all taken up and you have a rather sticky ball of dough.
 

--Place the dough on a well-floured board and roll it gently with a floured rolling pin until it is a patty about 1/2 inch thick.
--With a biscuit cutter, cut rounds of the dough, each one just touching the next one, in order to get as many biscuits as possible. Pat the left-over strips into biscuits also.


--Lay the biscuits on a greased pan, not too close together, and bake in a hot oven, 450 degrees, for 10-15 minutes, until they are lightly browned on top.


Okay, now that we've made our biscuits, let's get back to our regularly scheduled programming!

2) Wash and pick the strawberries. Mash them a little with a fork, leaving a few whole ones. Sweeten by stirring in a spoonful of powdered sugar.
(I didn't quite do this step--I prefer my strawberries to be fresh and natural, but this syrupy strawberry mixture would be delicious, I am sure.)

3) Split each biscuit and put some crushed strawberries over the bottom half. Then put back the top half of the biscuit and add more strawberries. If you like, finish with a dab of whipped cream sweetened with powdered sugar.


And there you have it! Featuring: baking powder biscuits (plus sugar) all dressed up as strawberry shortcake. Taylor added a little ice cream and some hot fudge to his, and I stuck with whipped cream. Next time, I'll roll the dough a little thicker so that the biscuits are taller and fluffier. And I might add a bit more sugar to sweeten the shortcake, too.

Hey, look at me! I'm cooking!

Saturday, September 5, 2015

Peanut Butter and Bacon Sandwich

It's been about two weeks since I opened my Peanut Butter Sandwich poll. If you recall, the agreement was that Taylor would eat whatever sandwich received the highest number of votes. I bet you've been dying to know the winner.

Well, wait no longer. The winning PB combo is.......


Peanut butter and bacon!

In a close second was peanut butter and cream cheese, followed by peanut butter and jelly, and a rogue fourth place vote for peanut butter and nutella. Still, bacon came out on top, so let's get to it!


Peanut butter and bacon sandwich
Blend 1/2 cup peanut butter with 1/4 cup cooked minced bacon. Makes 3 full-sized sandwiches.

Sounds simple enough! Clearly the biggest task in this exercise would be cooking and mincing the bacon. I've made bacon a handful of times, and it's pretty easy. I put a few slices in the pan, turned up the heat to medium-high, and let the bacon do its thing.


Once the bacon was extra crispy, I patted it dry with a paper towel and chopped it up into tiny little pieces.


Then I folded the minced bacon into the peanut butter, and spread the mixture onto a couple of slices of toast.


And there you have it! A peanut butter and bacon sandwich. I poured a glass of milk and set out my test kitchen creation for Taylor. Sheila was on standby.


Like a good sport, Taylor took a big bite...


 ...carefully considered it....


...took a swig of milk...


...and asked me, "why are we doing this again?"


I reminded him that peanuts are good for him and that he should find more creative ways to eat them, specifically citing this blurb from Powerlifting Peanut in the National Peanut Council cookbook:


Look what he gets in a handful of peanuts:
More protein than a serving of beefsteak
More iron that a serving of spinach
More B Complex vitamins than a serving of oatmeal
More niacin than 5 slices of enriched bread
More calories than a big dish of ice cream.

That last one isn't so much a selling point for me, but otherwise, wow, go peanuts! That's impressive!

After a few more bites, I asked Taylor what he thought of the sandwich. His review: "It's dry, crunchy, and I can't really taste the bacon." I took a taste and would probably add "super salty" to that description, but overall, not bad. I think we were both surprised that the recipe called for the bacon to be minced. Taylor pointed out we could have achieved a similar taste and texture (without the cholesterol) if we'd just swapped the bacon for some rice krispies. But where's the fun in that? Bacon.4.Life.